How To: :)
1. Cover your flat work surface with a spread of cloth. Place a lump of clay on
the cloth. Spread the clay out by flattening it with the palm of your hand. Make
sure the flattened clay has a thickness less than ½-inch.
2. Hold the clay by the top and bottom. Flip it over on its other face. Place a
yard stick on each side of the flat clay. Roll a rolling pin back and forth
repeatedly over the surface of the clay until the surface becomes smooth and
even.
3. Place a ruler on the face of the clay to a side. Cut the length of the bottom
of the slab pot with a knife. Place the ruler perpendicular to the first cut
and cut the length of the breadth of the bottom of the pot. Complete the other
two sides of the bottom the same way.
4. Repeat Step 3 for the four sides of the slab pots, taking care to cut out
rectangles of the same size. Allow one hour for the four pieces of clay to
dry.
5. Scratch crisscross patterns on the faces of the clay pieces at the edges with
a potter's needle. This will help create stronger joints.
6. Put scraps of clay left from the cutting into a small plastic cup and add a
little water to it. The clay will dissolve into slurry to make the slip. Apply
the slip to the scratched areas with an artist's brush.
7. Stand each of the sides straight and slide it over the scratched edges of the
bottom at a right angle. Slide each side of clay block back and forth on the
bottom piece to strengthen the bond between the surfaces. Press a coil into the
seam of each corner as soon as it is made. Use the brush to even out the corner
over the coil.
8. Smooth out the corners of the slab pot with a damp brush. Even out the top
edges of the pot with wet paper towel. Let the pot dry for two
days.
Read more: How
to Make Slab Pots | eHow.co.uk http://www.ehow.co.uk/how_8582698_make-slab-pots.html#ixzz1nnTN1NzJ

I like the color of this one.

I like this one. It looks like a watermelon.
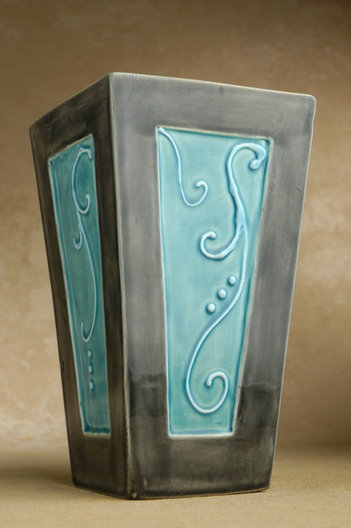
I like thw swirls on this one.
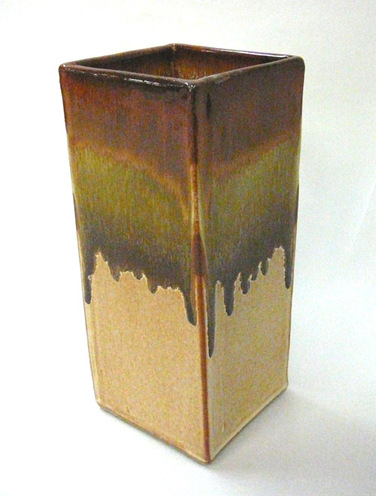
This one looks like a dripping rainbow. I like it.

I love the fishie.
This one looks like broken ice with jagged edges. how snazzy.
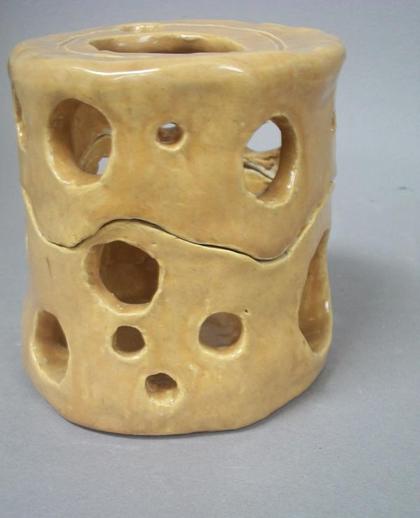
Who cut the cheese? Its cheese!
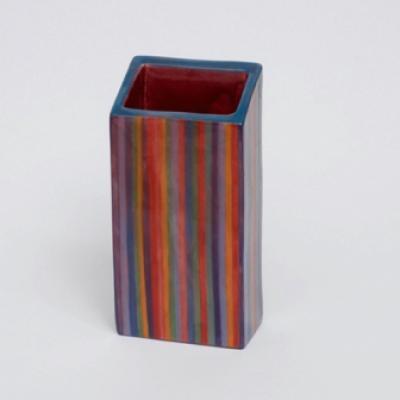
Im diggin' the stripes.
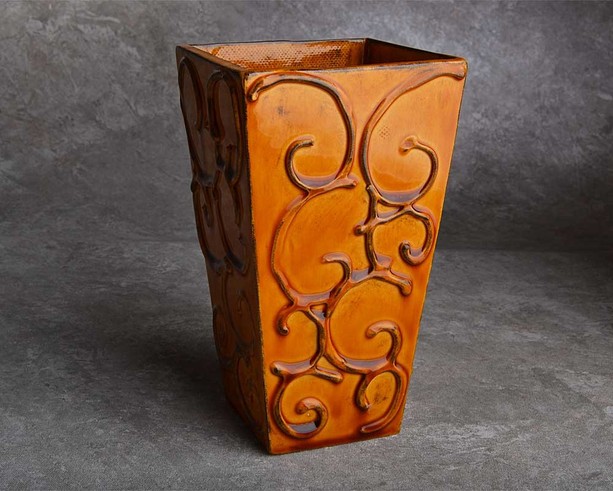
Im lovin' the swirlies.
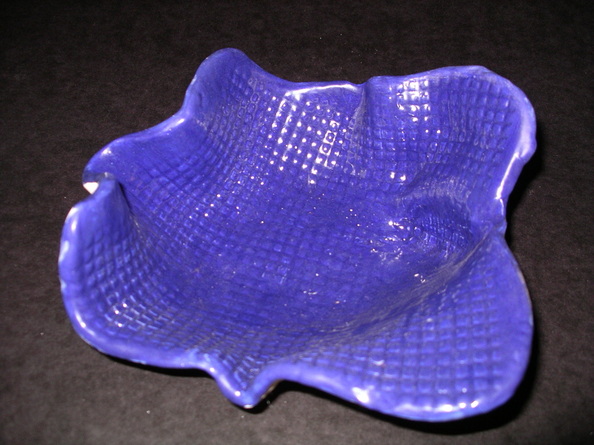
I love the texture on this baby!
Links. :)
1. http://www.ceramicforms.com/images/SIMG1368.JPG
2. http://www.artsii.com/images/ceramics/c003.jpg
3. http://createniks.files.wordpress.com/2010/08/clearblacka.jpg?w=500
4. http://3.bp.blogspot.com/-0oCpUrKaPbQ/TZIAIVixMUI/AAAAAAAAARc/8MwaHPTzr_8/s1600/slab%2B1.jpg
5. http://4.bp.blogspot.com/-V0pYxCPr_C8/TZIAtx-46XI/AAAAAAAAAR0/cVJdRMylczo/s1600/stretchinglimits_largeuse.jpg
6. http://www.hand-built-pottery.co.uk/hand-built-pot-images/large/slab-cat-pottery.jpg
7. http://amberleesart.files.wordpress.com/2012/01/amberlee-b-8.gif
8. http://jbuzzsportfolio.wikispaces.com/file/view/Slab_coil_pot_LE.jpg/210315368/420x518/Slab_coil_pot_LE.jpg
9. Regatta really should log off and is lucky that Keely loves her and will do it for her :)
